

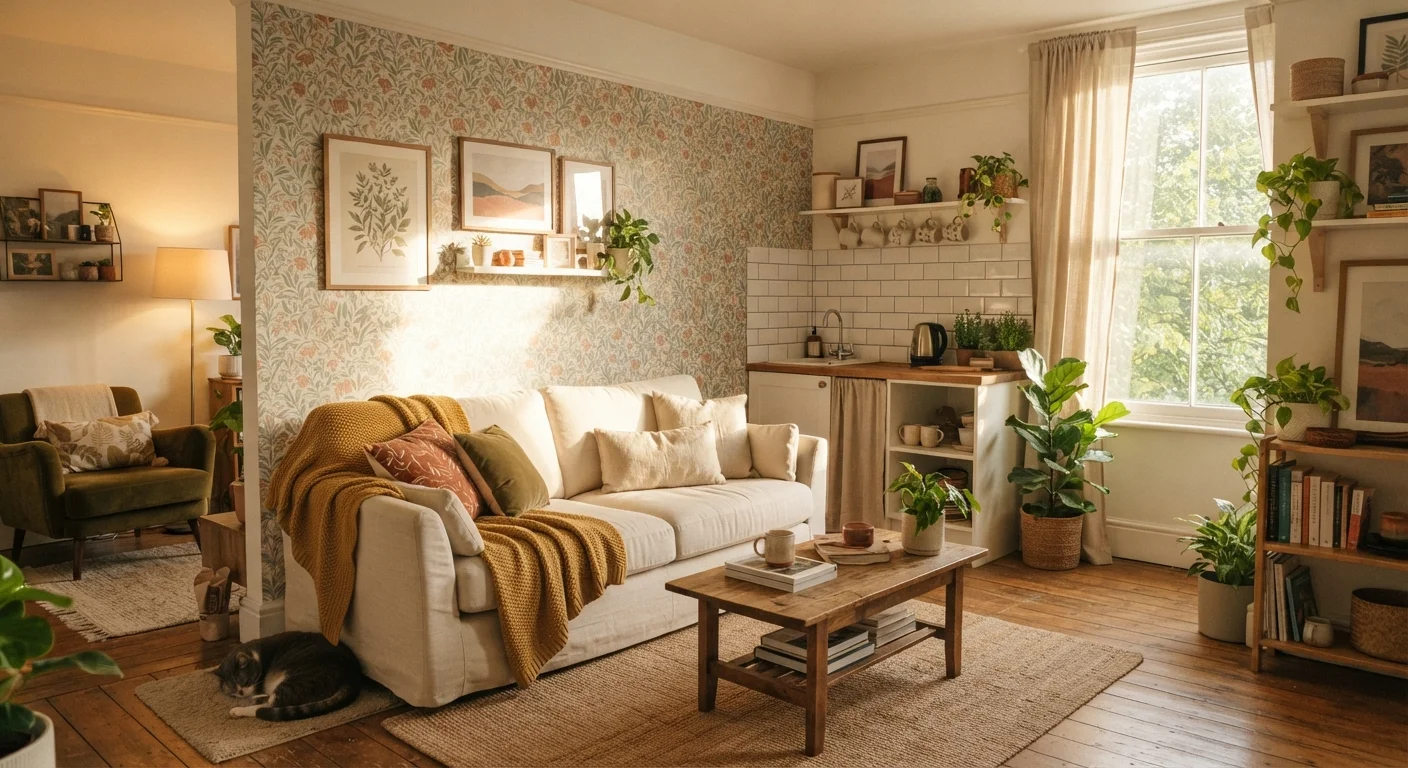
Making your rental feel like home without losing your deposit
Most standard leases prohibit painting walls, installing permanent fixtures, or altering surfaces in any lasting way. That leaves a lot of renters living with off-white walls and builder-grade lighting because they assume personalization is off the table. It is not. A range of genuinely reversible products and techniques has expanded what renters can do without risking their deposit.
The upgrades below focus on changes that are either completely removable or easy to reverse before move-out. None require drilling into load-bearing structures, altering plumbing, or touching electrical wiring. If you are ever unsure whether a specific change is permitted under your lease, check with your landlord in writing before proceeding. For a broader look at wall treatment options, see paint vs. wallpaper considerations by room when you do eventually own or have landlord permission to paint.
Removable wallpaper on a single accent wall
Peel-and-stick wallpaper designed for renters uses a repositionable adhesive that comes off cleanly from smooth, painted drywall. Applied to one wall, it adds color and pattern without the commitment of traditional wallpaper. Prices generally run from about $1 to $3 per square foot depending on material and print complexity, so a single accent wall in an average bedroom costs roughly $40 to $120 in materials.
The key limitation is surface type. Textured walls, fresh paint (under 30 days old), and some matte finishes do not hold removable wallpaper reliably and can pull paint when removed. Test a small panel in an inconspicuous area for 24 hours before covering an entire wall.
Test a small panel for 24 hours before committing to a full wall installation.
Peel-and-stick backsplash tiles in the kitchen or bathroom
Vinyl peel-and-stick tiles can go over an existing smooth backsplash or directly onto clean painted drywall behind a sink. They remove without leaving adhesive residue on most surfaces when pulled slowly at a low angle and at room temperature. Typical costs are $10 to $30 per square foot for quality versions that hold up to moisture and heat near a stovetop.
Avoid placing them directly above a gas burner where direct heat could warp the adhesive. Always confirm with your lease or landlord that cosmetic surface overlays are permitted; some leases explicitly restrict any alteration to kitchen finishes.
Pull peel-and-stick tiles slowly at a low angle to avoid adhesive residue on removal.
Plug-in lighting and bulb swaps
The single fastest way to change how a room feels is to change its light. In most rentals, you can replace standard bulbs with warmer-temperature options (look for 2700K to 3000K on the packaging) without any lease implications. Going further, plug-in wall sconces and pendant lights that hang from a ceiling hook give rooms a layered light effect that overhead fixtures cannot achieve on their own.
Adhesive hooks rated for the weight of your fixture handle most plug-in sconces without any wall damage. Run the cord neatly along baseboards or door frames using removable cord clips. When you move out, remove the hooks, fill any tiny adhesive spots if needed, and take the fixtures with you.
Warmer bulbs (2700K to 3000K) change a room's atmosphere for a few dollars and no lease risk.
Tension rods for storage, curtains, and room dividers
Tension rods require no hardware and leave no marks. Inside a deep pantry cabinet, horizontal tension rods at varying heights create adjustable shelving for cans and bottles. In a bathroom, a tension rod across the inside of a cabinet door holds spray bottles. A floor-to-ceiling tension pole in a corner can support shelving for plants or books.
For curtains, tension rods work inside window frames to hang lightweight panels without brackets or screws. That approach is especially useful in rooms where the window frame has no space for standard curtain rod hardware. Weight limits matter: check the rod's rated capacity before loading it with anything heavy.
Inside a cabinet, a horizontal tension rod at varying heights replaces the need for permanent shelving.
Layered textiles for floors and walls
Area rugs over hard-surface rental floors serve multiple purposes. They protect existing flooring from wear, reduce noise transmission (relevant in apartment buildings), and let you introduce pattern and color without touching a wall. A rug pad underneath prevents slipping and reduces the chance the rug leaves any dye transfer on the floor below.
On walls, fabric panels and large-format tapestries hung from removable adhesive picture strips or tension curtain rods at ceiling height add warmth and sound absorption. They come down cleanly, and the wall underneath stays exactly as it was. This approach works particularly well in bedrooms where acoustic softness matters.
A rug pad prevents slipping and protects the floor beneath from any dye transfer.
Freestanding furniture as built-in alternatives
Freestanding bookshelves, wardrobe units, and kitchen carts do the structural work of built-ins without attaching to anything. A tall bookcase placed against a wall can visually anchor a room the same way built-in shelving does, with no screws in the wall required. Some renters add crown molding to the top of a freestanding unit using removable adhesive to create the illusion of a built-in: the molding comes off without damage when moving.
Freestanding kitchen carts add counter space and storage in apartments with limited cabinet room. They move easily and go with you. If a unit is tall enough to tip risk, use anti-tip furniture straps anchored to a wall stud as a safety measure, documenting the small anchor holes in writing with your landlord beforehand.
A freestanding bookcase with adhesive crown molding mimics built-in shelving and leaves with you.
Getting the most out of these upgrades
Reversible upgrades work best when you approach them as a system rather than a collection of individual fixes. Coordinating your textile choices with your lighting and wall treatments produces a more cohesive result than piling on unrelated pieces. Before installing anything adhesive, clean the surface thoroughly with isopropyl alcohol and let it dry completely; adhesion failures are almost always surface-prep failures.
Always test adhesives before full installation
Before applying any peel-and-stick product to a full surface, press a small piece in an inconspicuous spot and leave it for 48 hours. Remove it slowly and inspect the surface underneath. If paint lifts or residue remains, the surface is not compatible. This one step can prevent a costly deduction from your security deposit.
When you move in, photograph every wall, floor, and fixture in detail. Do the same when you leave. That record is your clearest protection if a landlord disputes whether a mark or scuff was pre-existing. For tasks that go beyond cosmetic tweaks, knowing when DIY saves money versus costs more can help you decide how far to go on your own.
The content provided on our blog site traverses numerous categories, offering readers valuable and practical information. Readers can use the editorial team’s research and data to gain more insights into their topics of interest. However, they are requested not to treat the articles as conclusive. The website team cannot be held responsible for differences in data or inaccuracies found across other platforms. Please also note that the site might also miss out on various schemes and offers available that the readers may find more beneficial than the ones we cover.